
Need a valentine gift idea? How about just a tasty Valentine snack? My Be Mine cookies are just what y’all need! They are a basic sugar cookie, with a twist! My family uses anise in so many baked goods since my dad is from upstate New York. So, you guessed it, these cookies are full of anise. However, you can totally sub out the anise for vanilla, almond, or even rose extract. The base of this cookie is so versatile and the decorating options are endless! Once you’ve made your dough, let rest overnight, and then roll out, cut into fun shapes and bake for only about 10-15 minutes until cooked through and golden brown. Your valentine will fall in love with you all over again with these cookies. Trust me.
Ingredients
DOUGH
1 cup unsalted butter, softened at room temperature
1 cup sugar
2 eggs, brought to room temperature
2-3 tsp anise extract, can swap for vanilla, almond, rose, etc.
3 cups all-purpose flour, sifted
1/2 tsp baking soda
3/4 tsp fine kosher salt
Nonstick cooking spray
ICING
3 cups confectioners’ sugar, sifted
3 tbsp unsalted butter, softened to room temperature
1/3 cup low fat milk, could substitute whole milk or plant based milk if desired
3/4 tsp anise extract, can swap for vanilla, almond, rose, etc.
Instructions
Start by prepping the dough. Remember this needs to chill in the fridge overnight, so prepare accordingly!
In a large bowl, beat butter with electric or stand mixer on medium high speed for about 1 minute. Gradually add sugar in batches until smooth and well combined. Beat in the eggs one at a time and then add in your extract.
Measure out your flour, baking soda, and salt and sift through a sieve to eliminate any lumps.
**Pro baker tip: Be sure to move (some might use the term “fluff”) your flour around in your container/bag/whatever you store flour to allow the flour to “become alive” and not be so compacted. This allows the flour to more easily mix into other ingredients and also allows for a lighter, fluffier bake.
In batches, mix in your sifted dry ingredients into the wet ingredients. Beat on medium speed until smooth.
Remove dough from bowl and wrap in plastic wrap. Allow dough to rest overnight in the fridge.
**Note: the dough can also be frozen for later use!
Next, let’s roll out our dough and cut out our cookies.
Once ready to bake, preheat your oven to 375°F (190°C). Allow dough to rest on counter for 5-10 minutes prior to rolling out. You may also knead the dough for about 5 minutes to soften, if desired.
Line 2 or 3 baking sheets with parchment paper or simply spray baking sheets with cooking spray.
**Note: I tend to stay away from coating a baking sheet with cooking spray and baking anything on it because the contact of the cookie with the cooking spray on the sheet tends to quicken the bake on the bottom of the cookie. This often results in a burnt bottom cookie, which only a select few like….
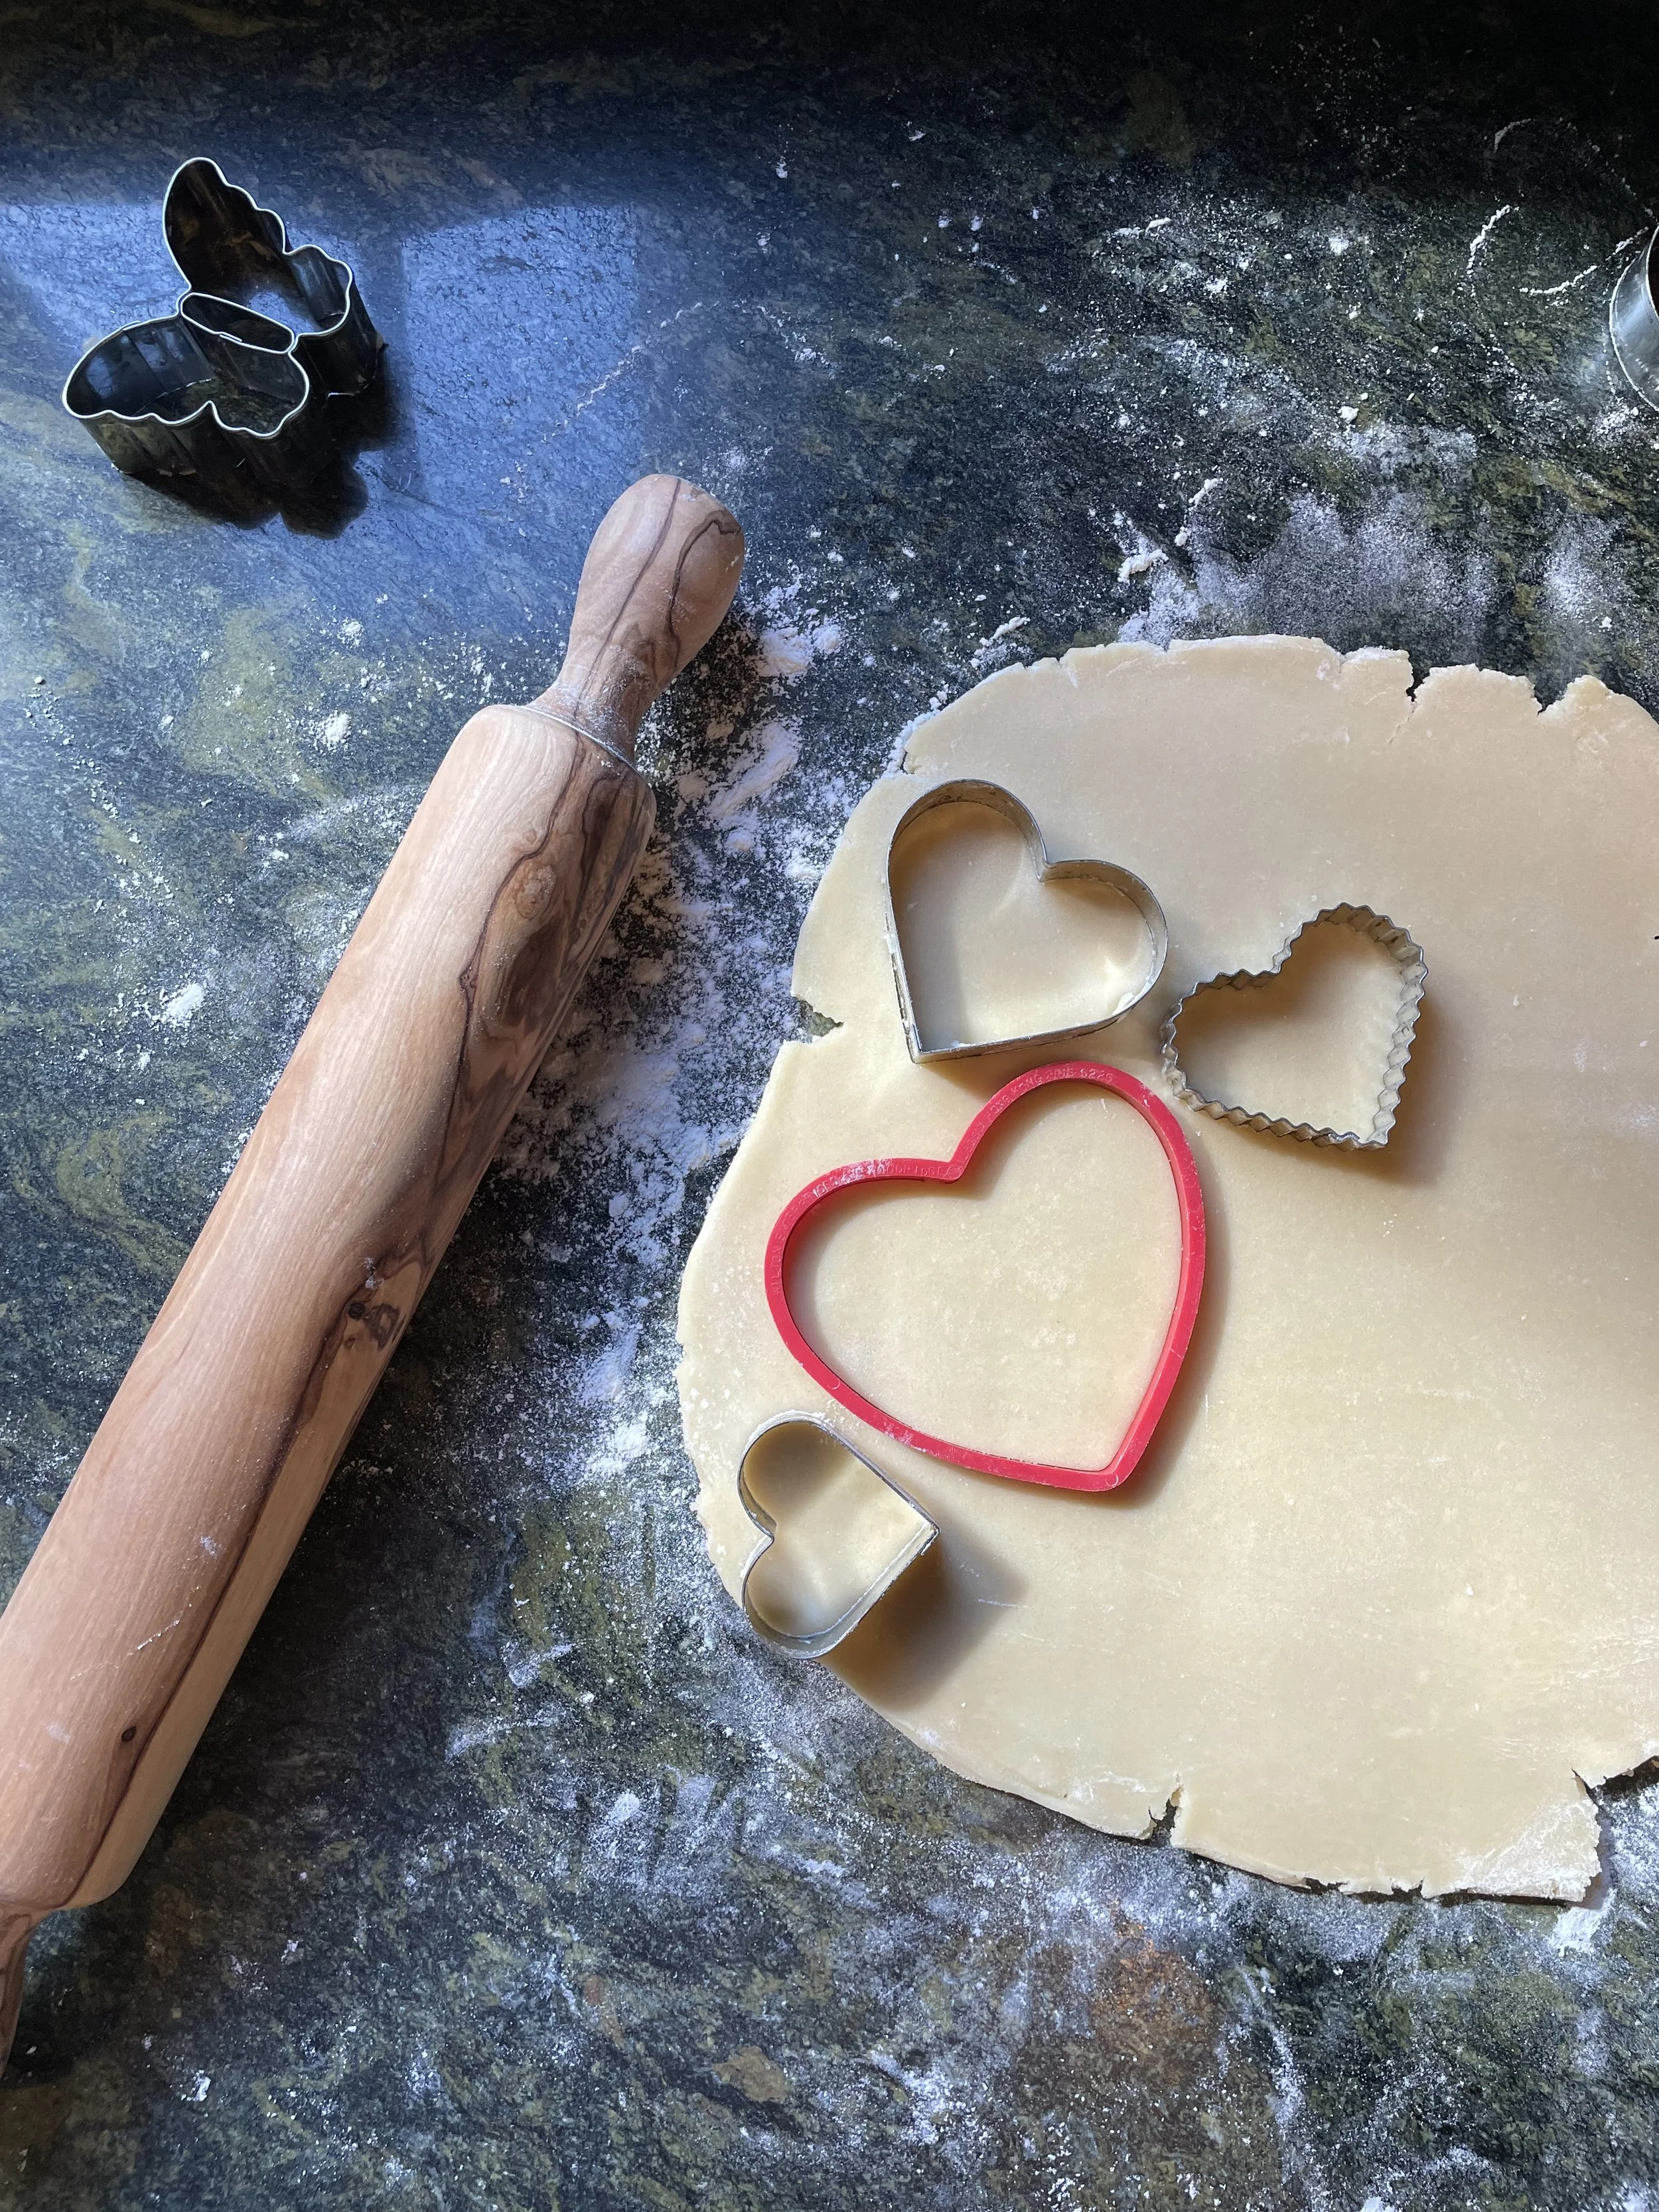
Roll out the dough to about 1/4 inch thick and cut out using either a sharp pairing knife or cookie cutters. Reroll scraps and continue cutting out cookies until no dough remains.
Place cookies on baking sheets, about 1 1/2 inches apart, and bake off in the oven for about 10-15 minutes, depending on how thick your cookies are. Cookies should be slightly browned and tops should be firm once finished.
Remove from baking sheets and transfer to either a wire rack or a dish towel laid out on the kitchen counter. Leave to cool for about 15 minutes.
**Note: My mom always did the tea towel on the counter and it's much easier to throw the towel in the washer after use, rather than having another dish to clean!


Finally, let’s make the icing! Do note that this icing dries fairly quickly.
Instructions
Sift one cup of confectioners’ sugar into a large bowl. Add in 1 tsp butter and mix until combined. Repeat this process once more.
Add in milk and mix to combine. Sift in last cup of confectioners’ sugar and final nub of butter. Mix to combine.
Add in extract and mix one final time until mixture is smooth.
Optional, but at this point I divide the icing into smaller bowls and add food coloring.
Ice all your cookies, decorate with sprinkles, sanding sugars, etcetera and allow to dry a few minutes.
Enjoy!